How to Assign a Label to a Product
Assigning a label to a product
Once the labels have been setup, they can be assigned to the products in Product Setup. To see how to setup new labels, Click Here. Below is a description of how you can setup labels individually against products, Click Here to see how to setup a label template to assign one set of labels to multiple products.
- Go to Product Setup > Factory Setups > Labelling Setup.
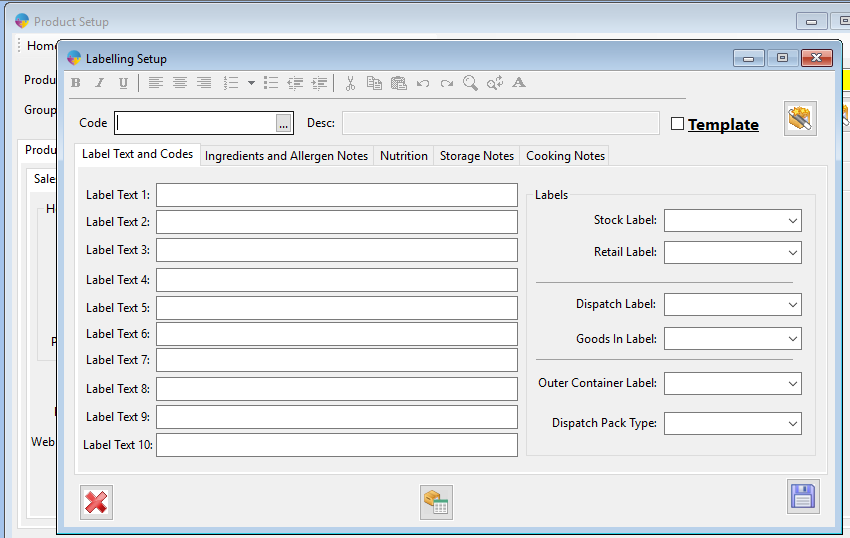
- From here you can assign the label to the product code.
- You can select your labels from each of the dropdown lists for ‘stock label’, ‘Dispatch Label’ etc. Below is a description of each label type.
- Stock Label- This is the default label for booking in stock from jobs or goods in.
- Retail Label- This is the default label for retail mode, these can either be counted in stock or not.
- Dispatch Label- This is the default label to be printed for a label being printed at dispatch.
- Goods in Label- This is the default label to be printed at goods in and can be setup if you want a different label from the standard stock label.
- Outer Container Label- This is the outer case label for production and once printed it will show the contents of the case.
- Dispatch pack type- This is the outer case label for dispatch and when printed it will show the contents of the case.
To see how to setup new label codes, Click Here
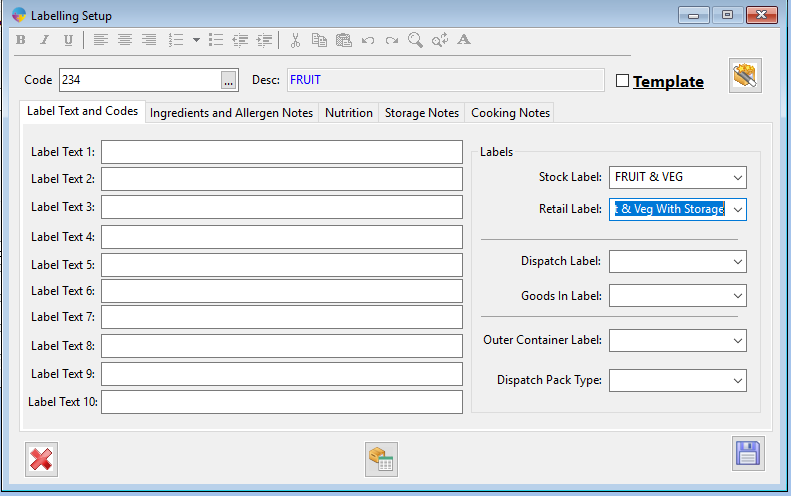
- You can also enter in any label text/ingredients/nutrients information that is required and this can then be setup in Bartender to output on the label.
- Once you have the information needed, select the save Icon.
N.B: After making any label changes, you will need to reload the factory system on each terminal for the changes to take effect.