How To: Set Up Dispatch Messages
In Season 20 you now have the ability to setup customer messages to appear on the screen at the goods in stage in Season Factory. You can follow the below steps to see how these are setup. Customer messages are also used in the new QC feature, for more information on that, click here. 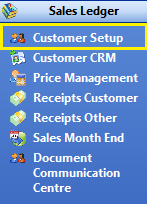
- Open Customer Setup, found under the Sales Ledger tab on your right hand Operations Menu.
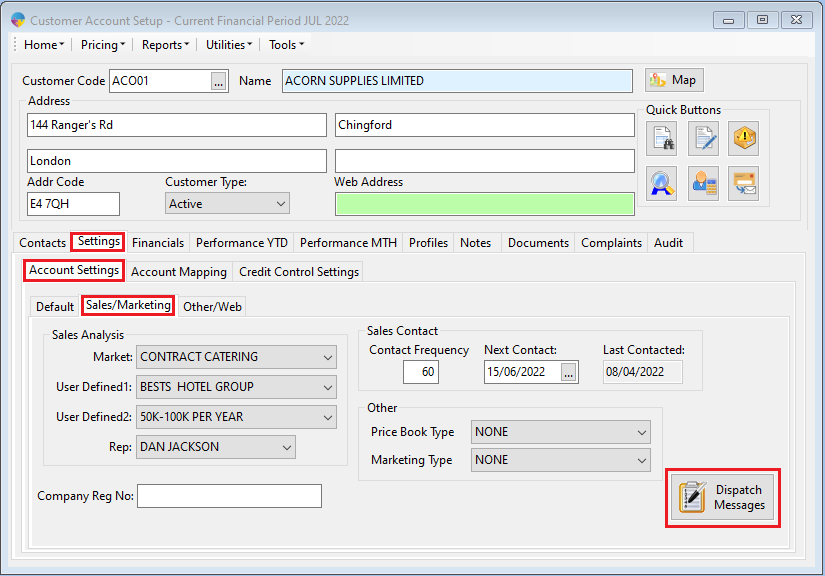
- Within Customer setup go to the Settings> Account Settings > Sales/Marketing.
- Click the Dispatch Messages button.
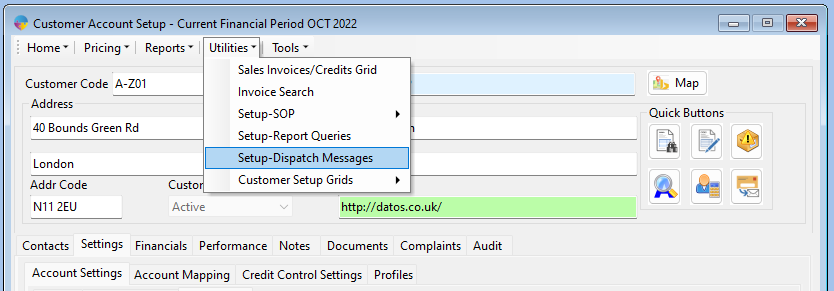
**There was a slight change to how you access the message set up in Season 23. You will now find the dispatch message set up under the Utilities drop down menu.
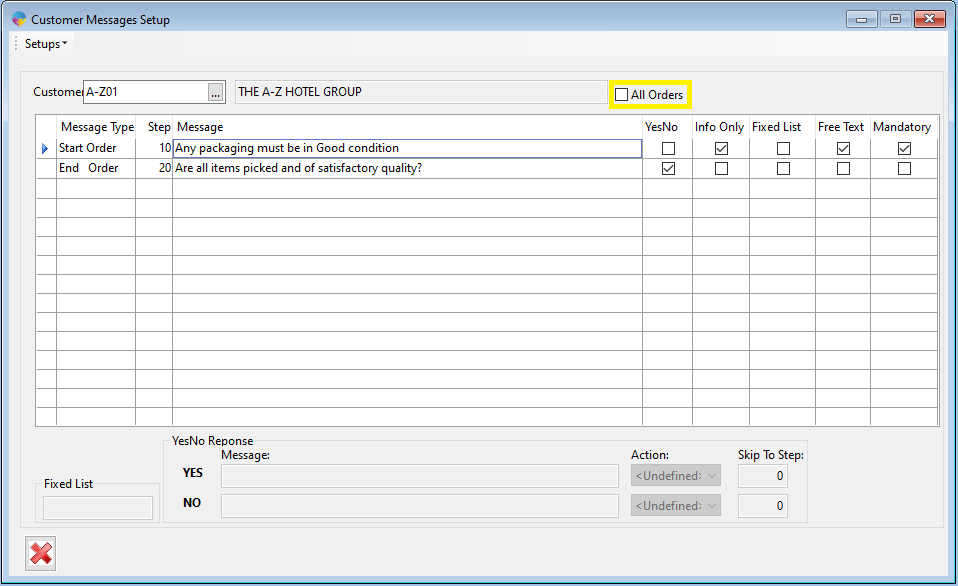
You will now see the customer messages window. Here you can enter what messages/questions you want to appear while processing the order for dispatch.
Setting up messages for “ALL” customers…
- Check the All Orders box to automatically bring up your ‘ALL’ customer. (If you do not already have an “ALL” customer set up, you will need to do so from your customer set up window. Follow this link for instruction on how to set up a new customer.)
- Select a message type, you have 4 choices;
- Start order – these messages will appear as soon as you try to confirm a product on the order during the preparation stage.
- End order – these messages will appear when you are saving your order during the preparation stage.
- Start QC – these messages will appear as soon as you enter the order at the QC stage
- End QC – these messages will appear when you are saving your completed order at the QC stage.
- Give the line a Step number, this will determine the order in which the messages appear, you can not use the same step number twice within the same set up.
- Select how you want the question to be answered;
- Yes/No – This will give the operator a choice between a yes and no answer.
- Info Only – this will just display the message, use if you want to display text but don’t need an answer.
- Fixed List – This will display a set of answer that the operator must chose from. Follow this link for instruction on how to set up fixed lists.
- Free Text – this will provide the operator with the ability to type their own answer.
- If you wish the answering of a specific question to be mandatory check the Mandatory box.
**If you are using a fixed list you will need to assign a list for that question to use. Click on your fixed list question and then click into the Fixed List box in the bottom left corner of the window. Press F4 to load your list of fixed lists, select the list you want to use and click ok.
Setting up messages for ‘INDIVIDUAL’ customers.
- Follow the steps above for setting up “ALL” but instead of checking “All Orders” click into the Customer field and press F4 to load your customer list. Select your customer and click the green tick, now follow on from step 2 above.
Mapping Dispatch Message to Customers
Season 24 added the ability to set up a “Messages Only” customer account. This account will not show as an active account along with “active” customer accounts. The purpose of this account is to hold the message set up you want to use for mapping to other “active” customer accounts. This will allow you to set up a single set of messages that can be applied to several other active customer accounts that you want to have the same messages for.
Setting up a Messages account
- See Customer Setup for how to set up a customer. When setting up this customer, make sure to change the customer type to “Messages Only” or you will not see the account when you come to map.
- When you have the customer account set up as a “messages only” account. Set up the messages you want on this account, just follow steps 2 – 5 in the “setup messages for all customers” section above.
Adding Messages to the account
When you have the customer account set up as a “messages only” account. Follow on from step 2 in the above section for setting up messages for ALL customers.
Mapping the messages to active customer accounts
Now you have set up the messages account and added the messages you want to display during dispatch orders, you need to map that account to the active customer accounts you want these messages to appear on.
Open the customer set up window, found under the Sales Ledger or Sales Invoicing tab on your right hand operations menu.
On the customer set up window, you need to select the settings tab followed by the account mapping tab. Now on the right side of your customer set up window you should see a section “Map Message from”.
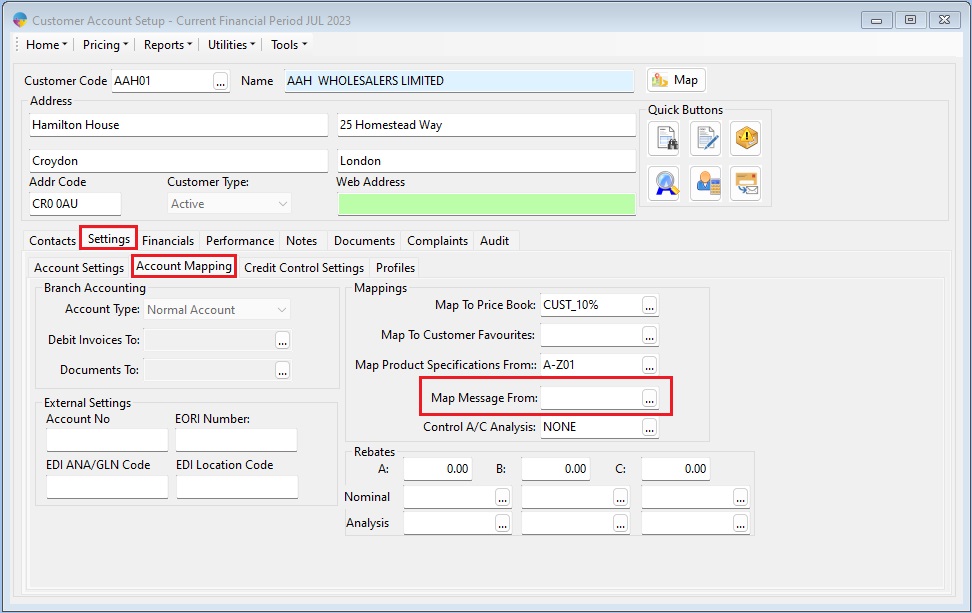
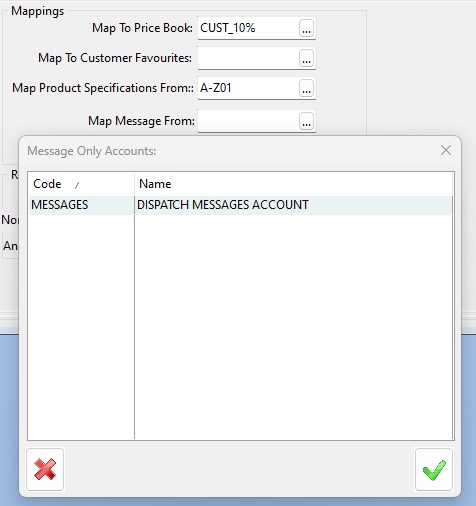
Click into the field and press your F4 key. This will open a new window that will list all “Messages Only” customers. You need to select the account you wish to use for the customers mapping. Once that is done you can click the save button found along the top of your screen or use the keyboard shortcut “F2”.
**Please Note. Season will check for messages in the order of; customer specific messages, then mapped messages and finally “ALL” messages. This means, when determining if messages should be shown for a dispatch order, Season will first check if you have set up customer specific messages first, if you have, those will be used. If Season finds no customer specific messages set up, it will move on to check for any messages mapped, if you have no customer specific messages but have set a mapping up, the mapped messages will be used. If you have no customer specific messages and not mapped any messages then Season will go on to check if you have messages set up for “ALL” customers. If you have an “ALL” set up in place, the “ALL” messages will be used.