How to add/remove/reset columns in data entry grids
Throughout the Season Office software is possible to add extra columns to data entry and selecting grids and lists.
For example it is possible to add extra columns in to the Sales Order Entry and Purchase Order Entry grids.
Extra columns provide additional information to the user or allow for additional data entry.
Adding columns
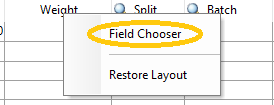
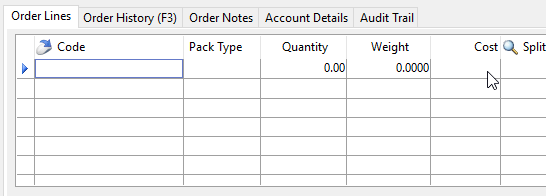
- In the Sales/Purchase Order views, for example, right click on any of the column headings to open the field options context menu.
- In order to add new a new column into the view, click on the “Field Chooser” option highlighted in the image below
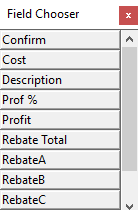
- This will display a list of available fields/columns that can be added to the grid.
- In order to add a new column into the view, you will have to click and hold on the selected field you would like to add and drag it across to the column header at the top of the grid.
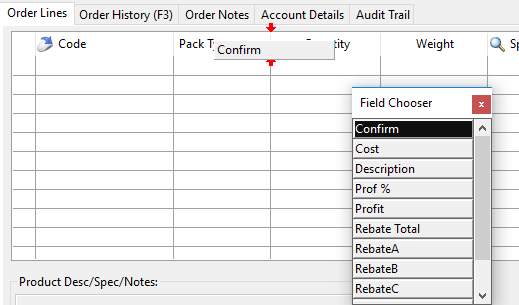
- Arrows will appear to indicate where the new column will be inserted. Release the mouse button to drop the column to the indicate place.
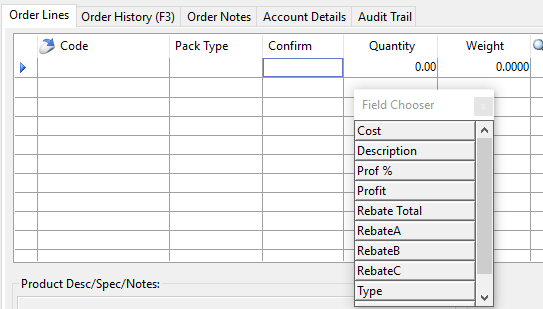
- If the new column is too small, you can click on the cell dividing line and drag it out to expand the width of the column.
Removing Fields
To remove a column from the grid simply click on the column name and drag the column off the grid.
(Please note that some columns cannot be removed from a grid. Generally these are the required data entry columns on the grid.)
Resetting Fields
- In order to remove any unnecessary fields and restore the gird back to its default, simply right click on any of the column headings to load the fields context menu.
- Click on the “Restore Layout” option highlighted in the image below
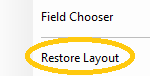
- Once you click on “Restore Layout” the grid will automatically remove any unnecessary fields and restore the grid back to it’s default column configuration..