Setting a Customer to Print Pick Notes
You can either setup individual customers to print pick notes or you can turn on pick notes for all customers within the system. Once pick note printing is turned on, after an order has been entered in Season office, the order will then move to the print pick note list within Season.
Turn on Pick note printing for individual Customers
- Go to Sales Invoicing > Customer Setup.

- Select the customer you want to set up pick notes for.
- Go to Settings > Account settings > Other/Web.
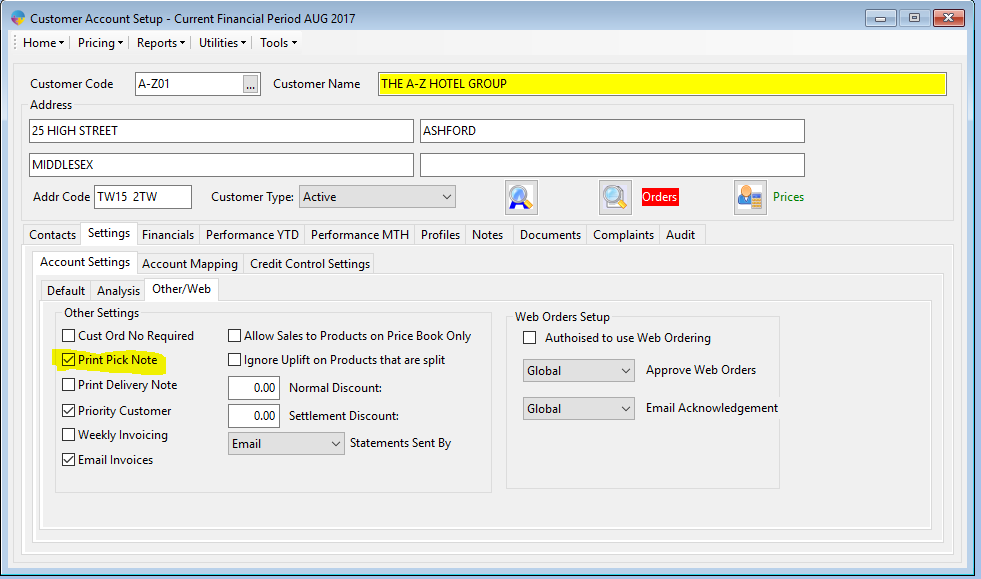
- There will be an option ‘Print Pick Note’ select the box.
- Select the save icon at the top of the screen.

- The customer is now setup to print pick notes.
Turn on Pick note printing for all Customers
- Go to Season icon -> Setup Office -> System Settings and Default Codes.

- Go to the SOP tab and below that, select the Printing tab.
- Click the lock icon at the bottom right hand side and enter in your admin/supervisor password.
- Select the check box that says ‘Print Pick Notes’
- Click on the save icon.

Once this setting is applied, all orders for every customer will go to the print pick note stage after the order has been submitted.