How to Create a sales Credit Note
There are two ways to create a credit note, you can create an allocated credit note for a specific Customer Invoice or you can create a manual credit note that can be left unallocated initially and allocated to the required invoice/adjustment etc. when ready.
Creating an allocated Credit Note for a Customer Invoice
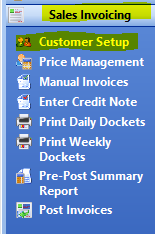
- From the Operations menu, go to Sales Invoicing -> Customer Setup.
- Within Customer Setup, select the customer and then Financials Tab. Then click on the account balance box highlighted below with the mouse image beside it to load the customer statement.

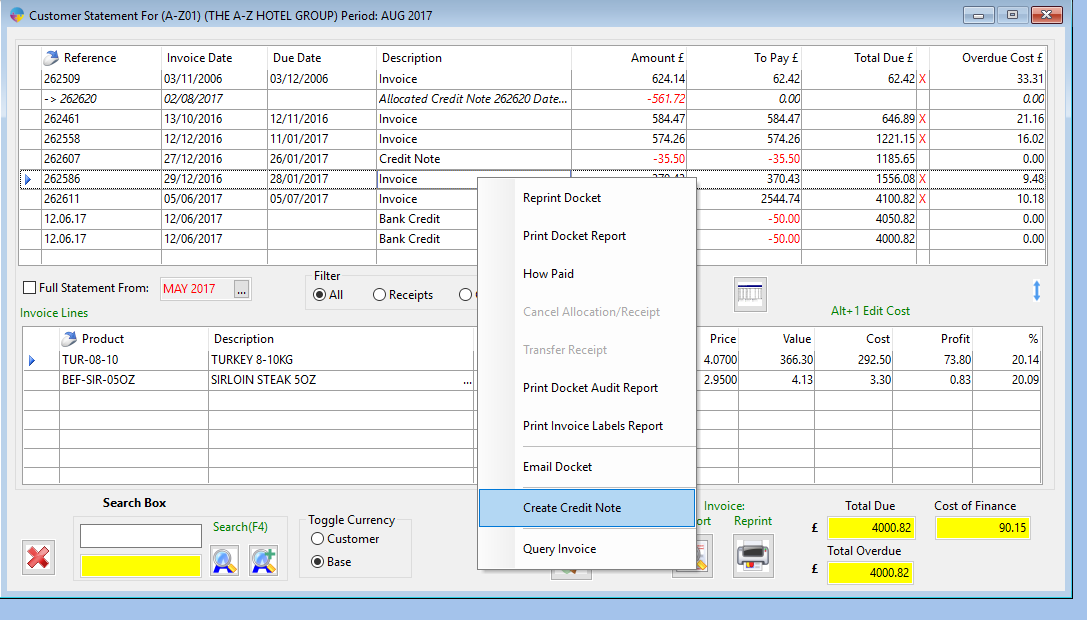
- Right click on the invoice for which you want to create a credit note for and click ‘Create Credit Note’. This will load the allocated credit note creation program.
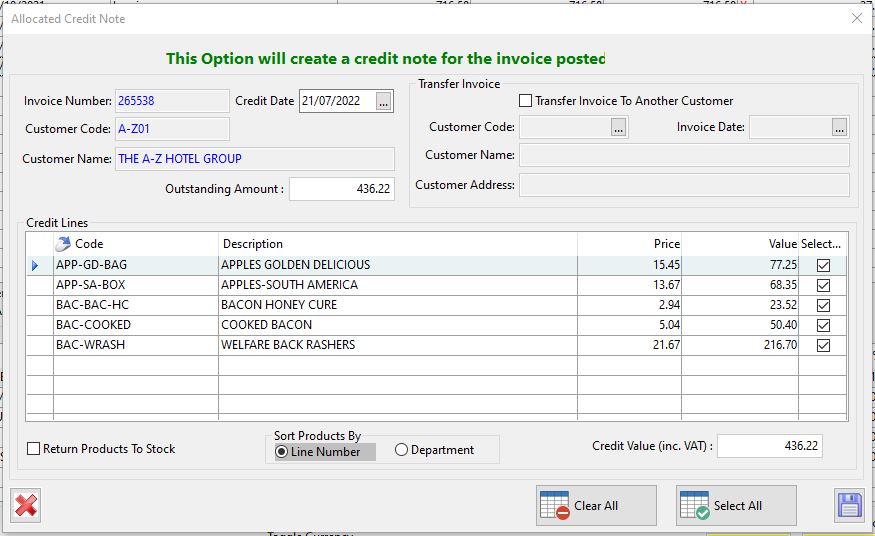
- By default it will select all the items in that invoice, if you want to remove items you can untick the boxes to remove them from the credit note. You also have Select All and Clear All buttons to quickly add and remove products from your selection. Click the save button when you have completed your selection.
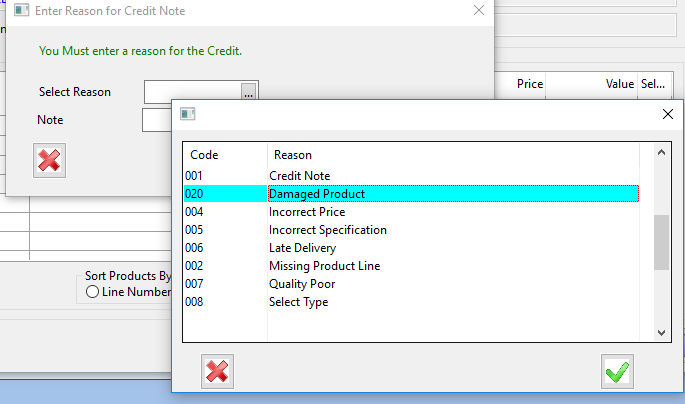
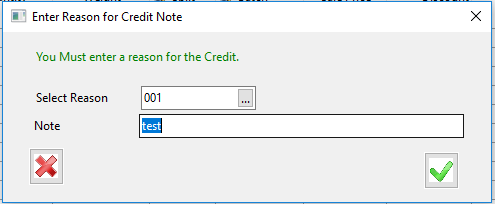
- A screen will appear to enter a reason for the credit note.
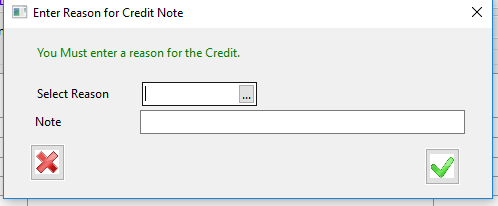
- You will need to select a reason for your credit note, for example ‘Damaged Goods’.
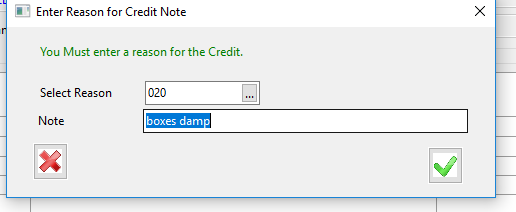
- You can then leave a note eg ‘Boxes damp’ and select the green tick.
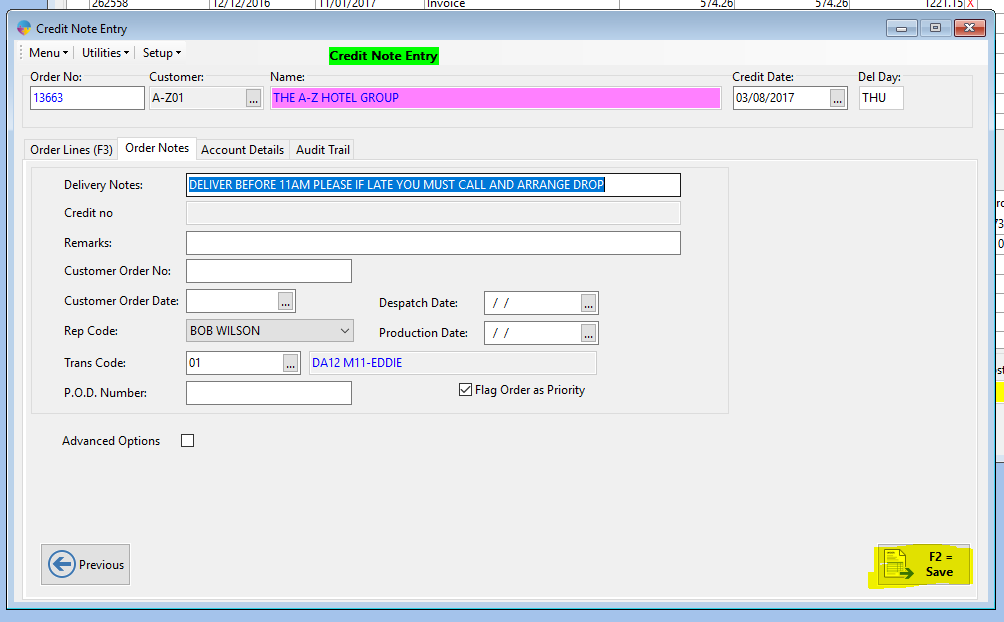
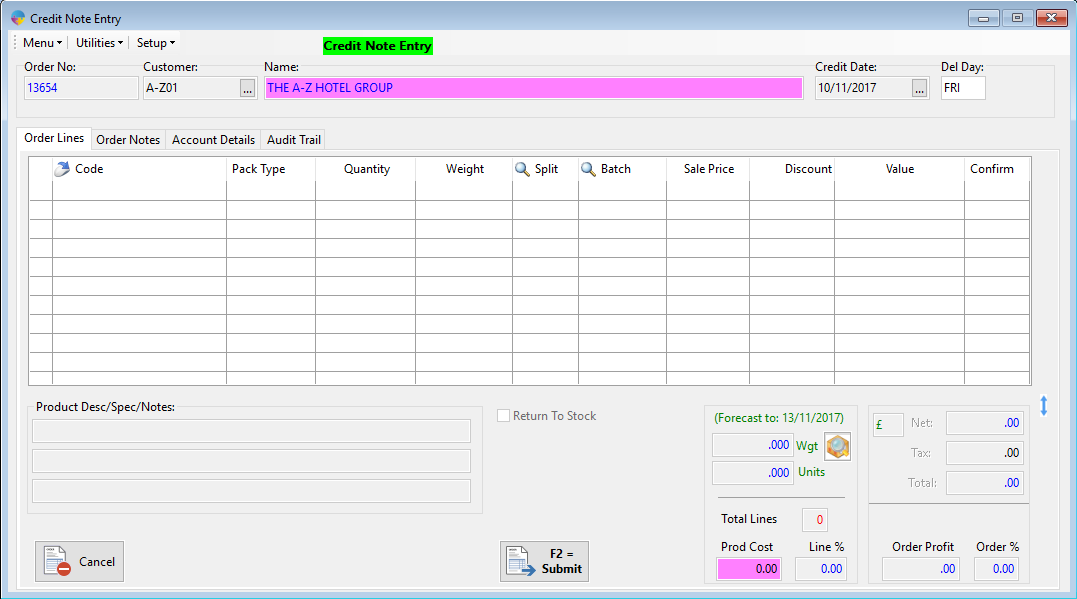
- The Credit Note Entry Form will appear. From here you can edit the credit note as necessary.
- Select Submit or press F2.

- The following box will show -> select Save or press F2.
Your Credit Note will now be ready to print from the Print Daily Dockets program. You can now processes it through to posting like you would any sales order.
How to create a manual credit note
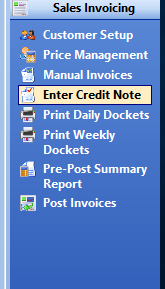
- From the Operations menu, go to Sales Invoicing -> Enter credit note.
- Select the customer you want to create a credit note for and tab across.
- When you tab across, the window below will appear, select the reason from the drop down box and add a note.
- You can then add in the products you need to return credit for.
- Once you have added all the products select ‘Submit (F2)’, this will then allow you to add any notes you might need to add e.g. Delivery Note.
- Select ‘Save(F2)’ this will save the credit note you have created.
- The credit note will now be listed on the print daily dockets list under the credits sections. Here you can print the credit note and then process the credit through to posting as you would a normal sales order.