Rep Management within the CRM Control Centre
This is a new feature with Season version 20 that enables you to view customer account information per Rep, as well as enter sales notes and print reports.
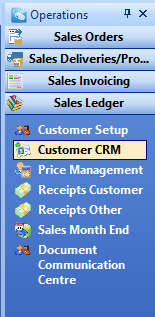
From the right hand Operations menu, select Sales Ledger and open the Customer CRM.
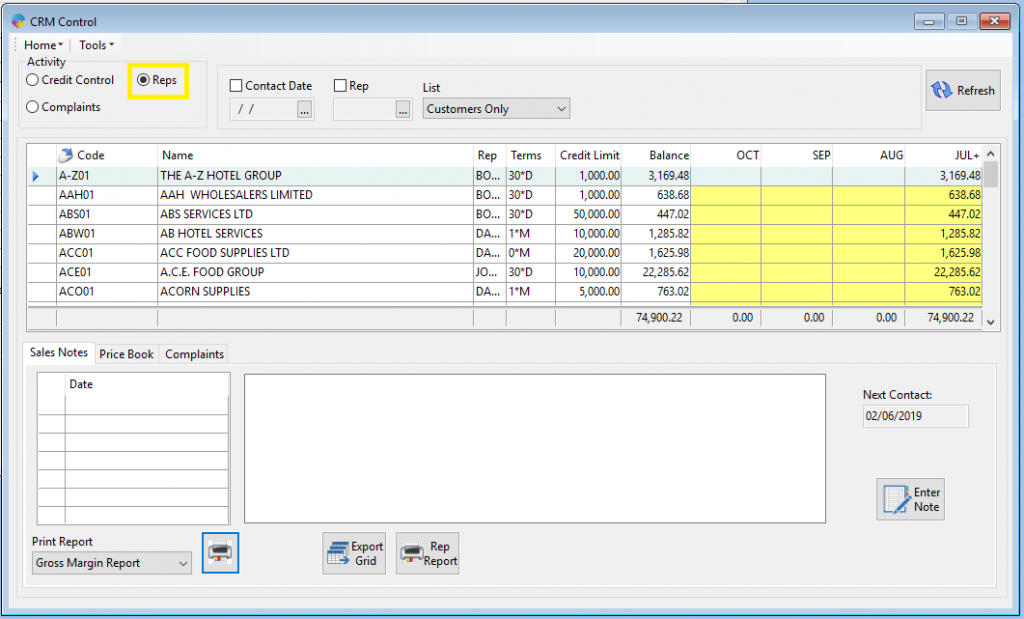
Check the Reps option highlighted in the screenshot below and click the Refresh button to populate the grid.
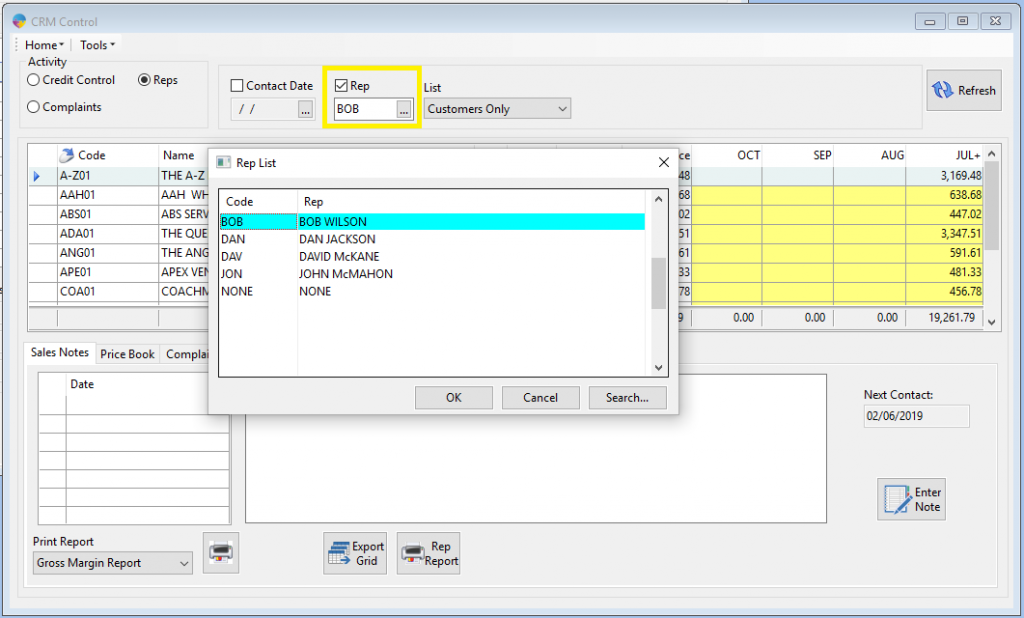
The grid can be filtered by rep, check the Rep box highlighted in the below screenshot, click into the text box underneath and press F4 to load your rep list. Select the required rep and click OK.
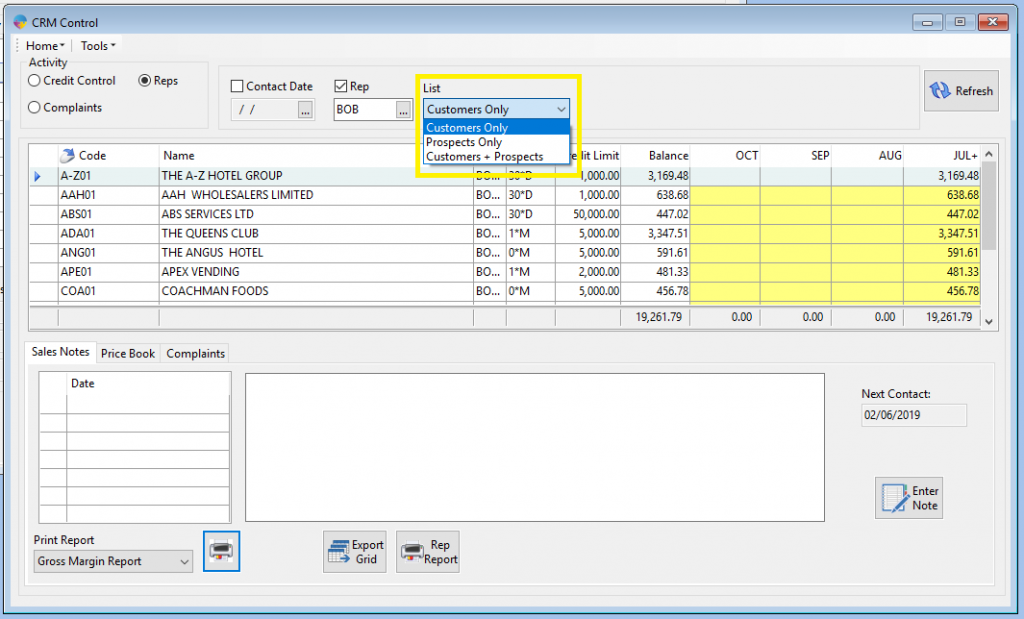
You also have the option to filter the grid by type of customer, current, prospect or both. This is done from the drop down list highlighted in the below screenshot. Click on the list to bring up the drop down menu and then select the customer type.
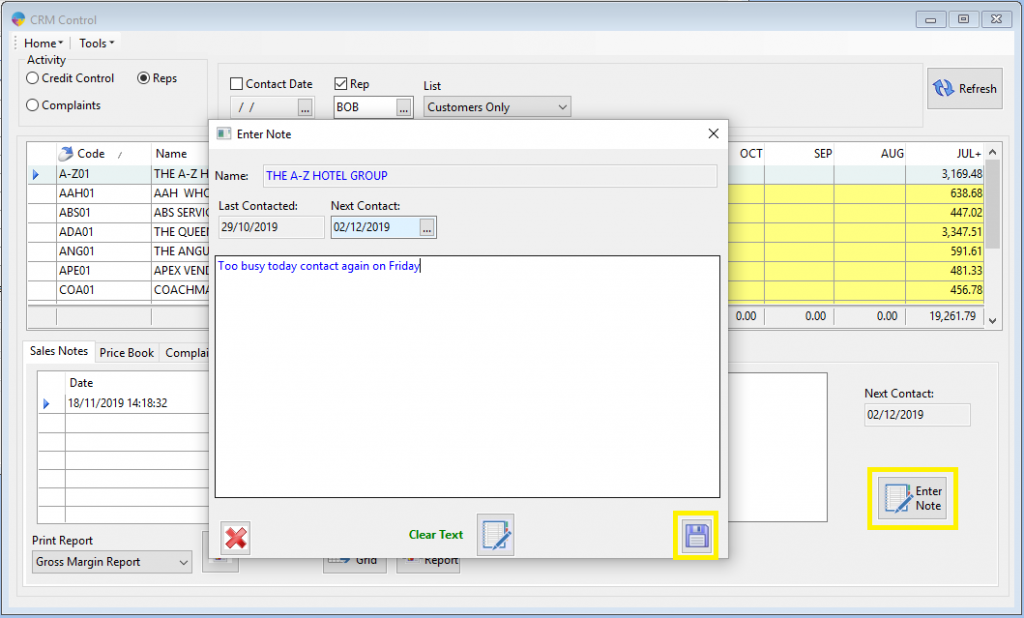
Entering Sales Notes
- Follow the above instructions to populate your grid with Data.
- With the grid populated, click on the customer you need to add a note for. (the line will highlight for you)
- Click the Enter Note button found in the bottom right corner.
- Enter your note into the text box that appears.
- Click Save.
Printing Reports
- Follow the instructions at the top of this guide to populate the grid with data.
- From the drop down menu found in the bottom left corner, select the type of report you want to print.
- Depending on what report you are printing, clicking the print button will load the gross margin analysis grid, the trend analysis grid or the comparative sales report window pre-loaded with data from the CRM.
- From any of these windows you can export to a .csv file or print the report.
For more information on how these grids work, follow the links below
How to use the Gross Margin Analysis Grid