How to Setup Images against Products (default image and customer specific ones)
Season allows you to setup images for each product, which can then be viewed by the operators in the Factory system.
To set up a default image for a product:
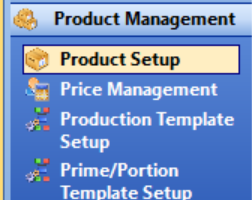
- Go to Product Management > Product Setup.
- In the ‘Sales Info 1’ tab, Go to the picture field.
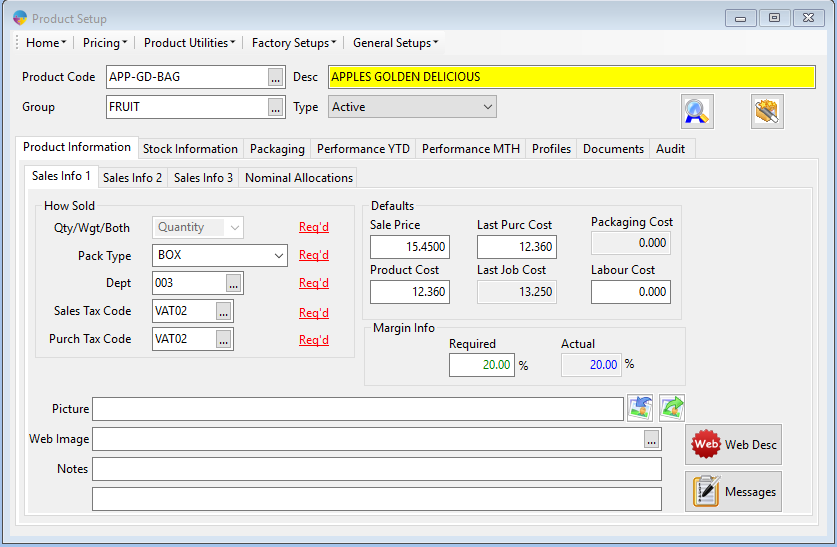
- To select an image select the blue arrow
 , find the path where you have saved the image.

- Double click on the image to add it in. (When adding an image it should be done through the server to ensure the picture is accessible on all computers.)
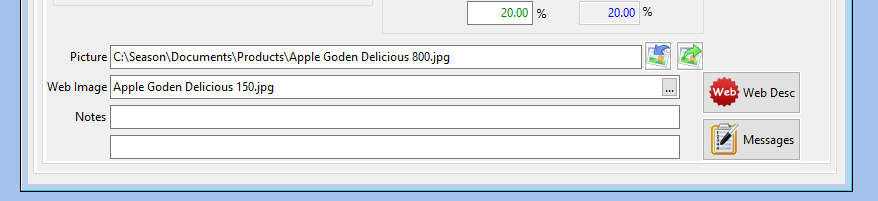
- Picture – this will set a default picture for the product in season office.
- Web Image- This will setup a product image for Season Online.
- Select the ‘Save’ icon on the top menu bar to save these changes
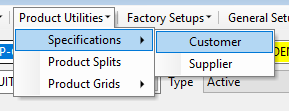
To set up a customer specific image for a product:
- Go to Product Setup > Select ‘Product Utilities > Specifications > Customer.
- Select the customer from the list.
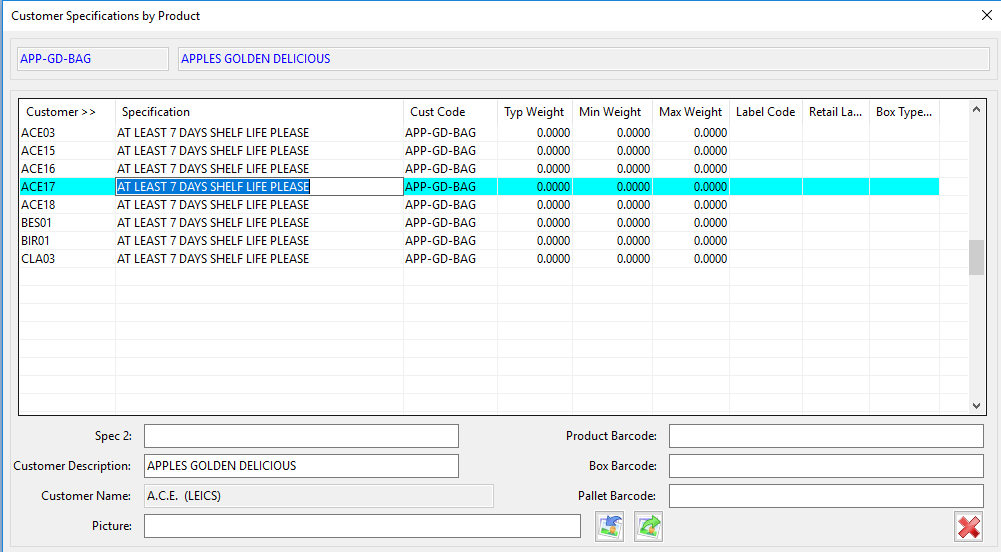
- You will see the ‘Picture’ box along the bottom, select the blue arrow.
- Find the path for the image, double click on the image to add it in. (When adding an image it should be done through the server to ensure the picture is accessible on all computers.)
- To save these changes, tab onto a new line and close out of the Customer Specifications Window.