How to use the Product Grids in Product Setup.
In Product setup you have 5 different grids that allow you to quickly edit/amend data against multiple products in a grid format. To see how to do this, follow the below steps:-
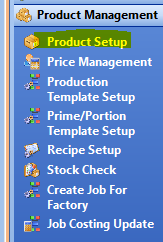
- On the Operations menu, go to Product Management > Product Setup.
- Within product setup go to Product Utilities > Product Grids.
- You will now see the 5 different grid options displayed.

- Each grid will show all the active products in Season and will allow you to edit information of each product. The different grids each allow you to edit different product information.
- The grids are setup so the user can edit multiple products quickly without having to manually search each product.
- Grid 1 – Allows you to change the products Group, Pack Type, Department and Tax codes.

- Grid 2 – Allows you to setup products for Auto Confirm, if it is a Fixed weight and the Typical/min/max weights of the products.

- Grid 3 – Allows you to edit the products shelf days, Tares, Label Codes and factory information.

- Grid 4 – This grid allows you to edit the Stock Setup and Adjustment Entry. You also have a stock batches button at the bottom of the window, this will take you to the batch list for whichever product you have selected on the grid.

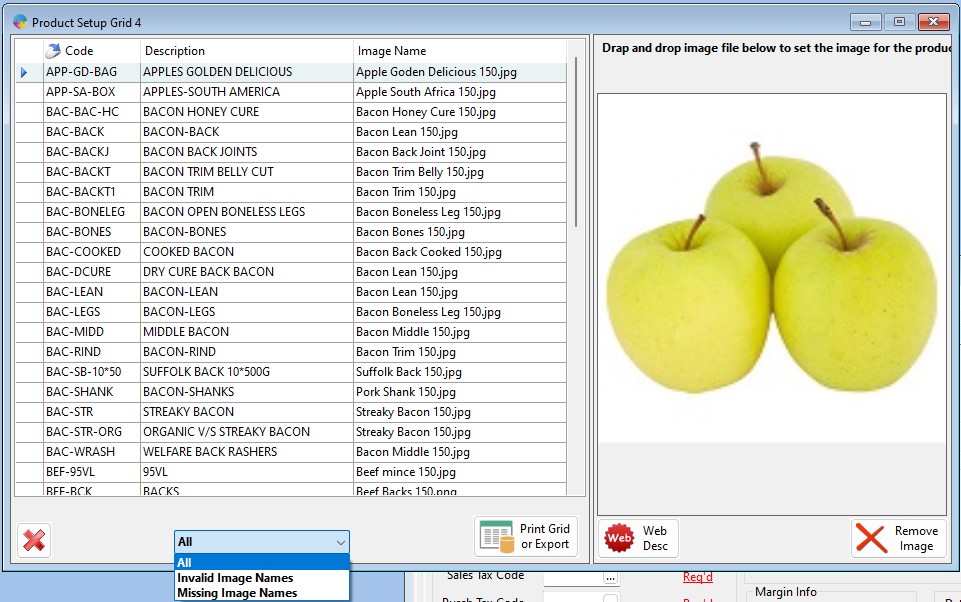
- Grid 5 – Is to setup the products web information, this is a fast way of adding product images and web descriptions for Season Online. You have a couple of filters at the bottom of the grid to allow you to easily locate products with missing images or invalid file names.