Season Export of Sales Transactions to External Accounts Package
Before invoices can be exported to an external accounts package, all required invoices/credits have to be posted to the Sales Ledger in Season.
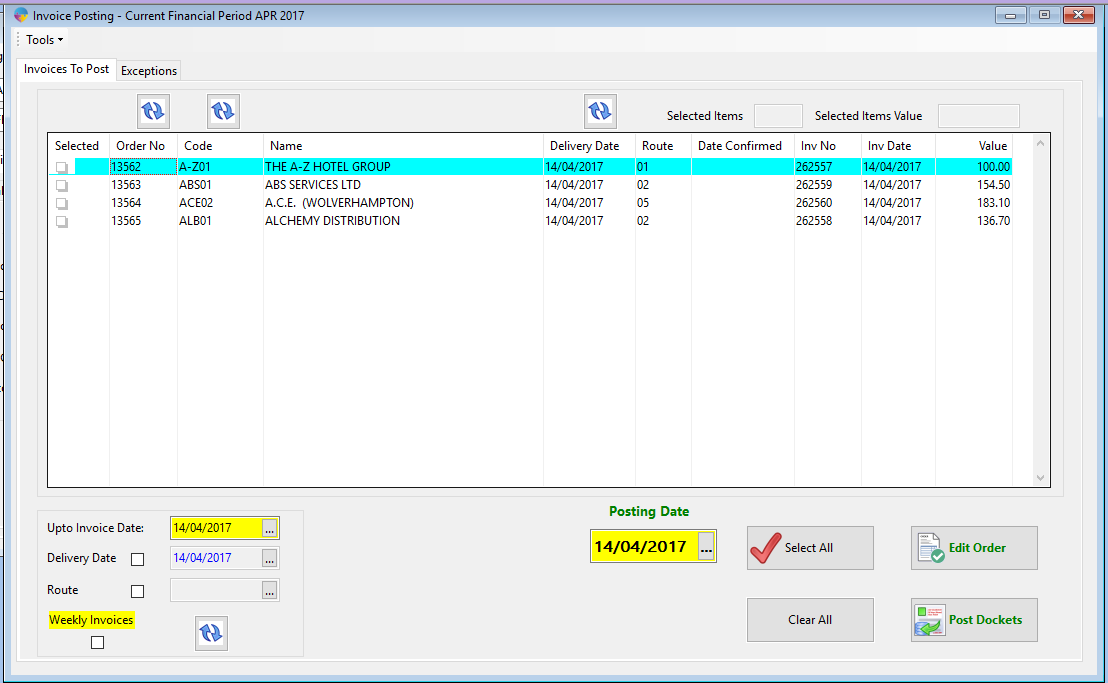
- On the Operations Menu, select Sales Invoicing -> Post Invoices.
- Select the required invoices for posting, or select all invoices by pressing “Select All”.
- Then click on ‘Post Invoices’.
Exporting Sales to the external accounts package
- Load the External Accounts Link program under the “Ledger Link” drop down menu located at the top of the screen.
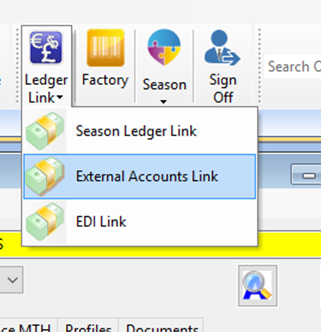
- This will bring up the Sales Invoice/Credit Ledger Export program with the default ledger export link pre-loaded.

- Transactions can be selected manually by the user by ticking the check box in the ‘Selected’ column or, alternatively, all transactions can be selected by clicking on the ‘Select All’ button.
- Please note that the user has the ability to filter between invoices and credit notes if required.
- When the required Invoices/Credits have been selected, press “OK” to export to a file that can be loaded in to the external accounts package.
This file is located in the external accounts like default directory (with it named as the current date), which is now ready to import to external accounts package.
It is advisable that, once the import is complete, the CSV file should be removed from the default directory and placed in a historical directory to 1). avoid the same file being imported twice, and 2). to maintain a backup of the files imported into the external accounts package.
Please ensure that the file is archived appropriately once imported. Duplicate data can be imported into an external accounts package if more than one posting occurs in Season Office with the same “Post Date”, because the data will be appended on to the end of the file with the matching post date.
Resetting an invoice to the Export List
If an invoice is missing; or hasn’t been imported into the external accounts package, then it can be reset to the export list.
To reset invoices to the list,
- Click on the ‘Reset’ button,
- This will bring up the Reset Invoice List dialog
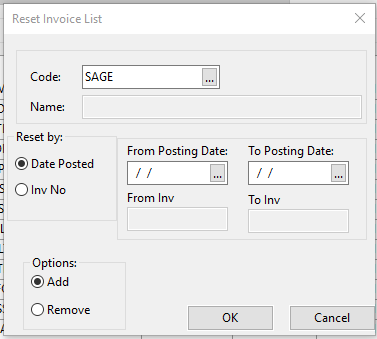
- This dialog allows invoices/credits to be reset back to the export list in different ways,
- Individual invoices/credits can be reset via the use of the “Inv No” option. The user simply needs to enter in the same Invoice/Credit Number in the “From” and “To” section and ensure that the “Add” option is selected
- Multiple transactions can be reset via the use of either filter – a list of invoice numbers or a full day’s worth can be reset via the “Date Posted” option.
- Once the values are entered, press “OK” and they will appear again on the main export list.
- The same applies invoices/credits are to be removed from the list. Just select ‘Remove’ in the Options group rather than ‘Add’