How To: Set up Customer/Supplier Contacts
Setting up Contact Types
Each contact has a type, you have to assign a type to the contact as you create them. These contact types cover both customer and supplier contacts. To do this;
- Open the Season system settings. This is found by going to the main Season menu found along the top of the screen > select Setup Office > select System Settings and Default codes. You will need your system admin password to make changes.

- Within the System settings, you will want to select the General tab and then under that, the Master Codes tab. On the list of Master Codes you should see one called “CONTACTTYP”.

- When the CONTACTTYP code has been selected, you will see a list of contact types on the lower grid. To create a new type, select the first available blank line and enter a code and a description. Once those details have been entered you can click off the line to save the new type or click the save icon found along the top of the screen.
- The new contact type should now be available to select when create new contacts.
Setting Up Titles
Each contact you create will also need a Title, Mr/Mrs etc. As above these are set up within the System Settings and Default Codes. You need to open the General tab and then the Master Codes. You will find a Code “TITLES” listed. These titles cover both customer and supplier contacts.

Just like the Contact Types, you will need to select the first available blank line, enter a code, a description and save the changes by clicking onto another line or using the save button at the top of the screen.
Customer Contacts
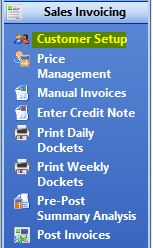
- Open you customer set up window. Sales Invoicing > Customer Setup.
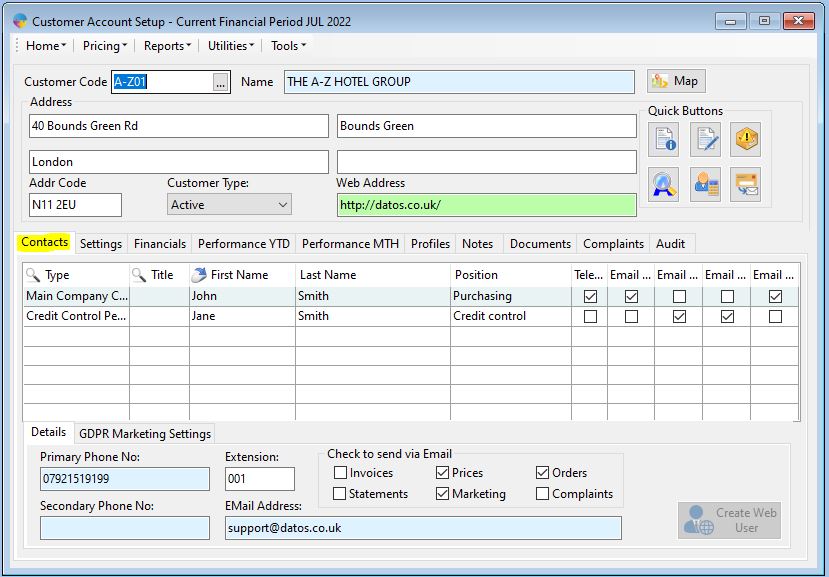
- When your customer setup window has opened, loaded the customer you want to set up contacts for by clicking into the Customer code box and press F4 to open your customer list. Double click on the customer you want to load. The window will usually open for you with the contacts grid already on display.
-
Adding Contacts
- To add a contact, you can click on the first available blank line and then start filling in the information required. This will be the Type, Title, Names and the check box options for which processes they will be contacts for. You can also add in phone numbers and an email address in the details section below the grid.
Options for Contacts
- Complaints – Contact’s email address will be used when emailing complaints
- Marketing – Contacts email address will be used sending out marketing emails
- Orders – Contact’s email address will be used when emailing order confirmations
- Invoices – Contact’s email will be used when emailing invoices
- Statements – Contact’s email will be used when send email statements
- Prices – Contact’s email will be used when emailing pricebooks
- Telesales – Contact’s phone number will be displayed on the telesales grid
- POD Sig – Used to produce a list of people who are authorized to sign for deliveries
GDPR
Open the GDPR marketing settings tab. Here you are able to add in details of consent being given.
- Check the Consent Given box (if consent has been given)
- Enter the date when consent was given
- Add a date of when they next need contact for renewal of consent

You can also attach a document against each contact. This can be a copy of a signed form to give consent or a screenshot of an email etc. To add the document into season..
- Click the Select Doc button to open your windows file explorer
- Navigate to the document you want to attach and click open. If select correctly you will see your document path appear in the Document Field.
- If you ever need to view the document again, Click the View Doc button.
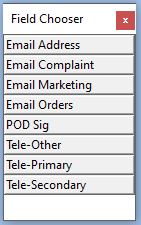
Field Chooser
As with many grid within Season, the contacts grid has a field chooser option which allows you to add fields that are not on the grid by default. The below options are available via the customer contacts field chooser.
Supplier Contacts
Just like the customer contacts above, suppliers can also have contacts.
- Open the supplier setup window. Purchase Ledger > Supplier Setup.

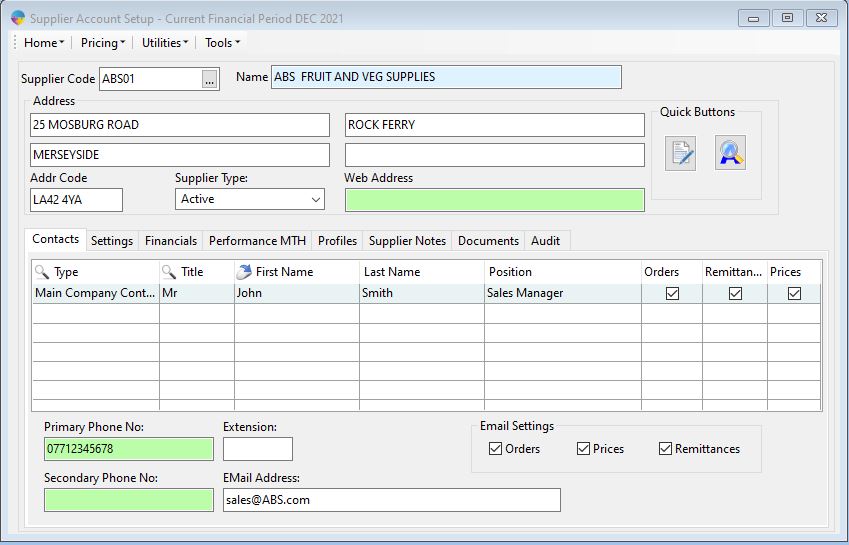
- When your supplier setup window has opened, loaded the supplier you want to set up contacts for by clicking into the Supplier code box and press F4 to open your supplier list. Double click on the supplier you want to load. The window will usually open for you with the contacts grid already on display.
Adding Contacts
- To add a contact, you can click on the first available blank line and then start filling in the information required. This will be the Type, Title, Names and the check box options for which processes they will be contacts for. You can also add in phone numbers and an email address in the details section below the grid.
Options for Contacts
- Orders – Contact’s email address will be used for sending POs
- Remittances – Contact’s email will be used when emailing remittances
Field Chooser
You also have the field chooser available here. You can add any of the field choosers columns to the supplier contact’s grid.
