Pre-Post Summary Analysis
The pre-post analysis grid gives you the ability to review invoice details prior to running your invoice posting. The grid was introduced in Season 21, prior to version 21 there was a pre-post summary report. To see more details on using the summary report, see Legacy report section below.
To run the Pre-Post Summary Analysis;
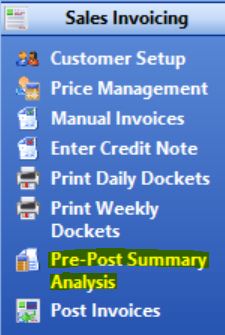
- Go to the Sales Invoicing tab found on your Operations Menu and select Pre-Post Summary Analysis
- The Pre-Post summary grid will open on screen and you have several options to use when running the analysis
- Report By
- Customer – This breaks down your data by customer (upper grid) then by product (lower grid)
- Product – This breaks down your data by product (upper grid) then by customer (lower grid)
- Code Selection – This is either your customer codes or product codes depending on which of the above options you have selected. This allows you to filter to specific customers or products. By default your full customer or product list will be selected.
- Date
- Delivery Date – Used to filter invoices by delivery date
- Invoice Date – Used to filter invoices by invoice date
- * You need to then select the date you wish to run the analysis for in the date field located below the delivery/invoice date check boxes
- Sort By, To, From
- No Sort – No further filtering will happen, you will see all results for the date selected
- By Rep – Allows you to filter down to a single rep
- By Route – Allows you to filter down to a single route
- By Market – Allows you to filter down to a specific customer/product market keys.
- By Sort 1 – Allows you to filter down to a specific customer/product sort keys.
- By Sort 2 – Allows you to filter down to a specific customer/product sort keys.
- By TeleUser – Allows you to filter down to a specific telesales operator
- Report By

- When all desired criteria has been selected from the above options, Click the Load button to populate the grid with your data.
- If you need to change the criteria after the grid has been populated you need to click the Reset Report button at the bottom of the window.
Advanced Options
In the upper right corner of the pre-post window there is a button called Options.
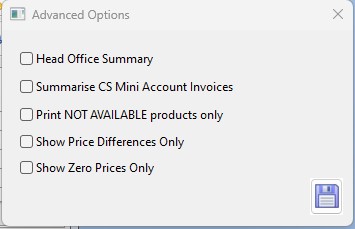
- Head Office Summary – This will combine each branch of a head office account into one record showing under the head office account code when the data is displayed
- Summarise CS Mini Account Invoices – As with the head office accounts, this option will combine all accounts set up as Cash Sale mini accounts into one record when the data is displayed.
- Print NOT AVAILABLE products only – This will only show details of any products which have been marked as not available during the confirmation process.
- Show Price Differences Only – This will only show product details for products that have been entered onto an order with a price that is different from the price that is set in their priceboook.
- Show Zero Prices Only – This will only show product details for products that have been entered onto an order with a zero price.
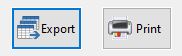
Print/Export
All data can be reviewed from the on screen grid but at the bottom of the window you have buttons that will allow you to print or export the data.
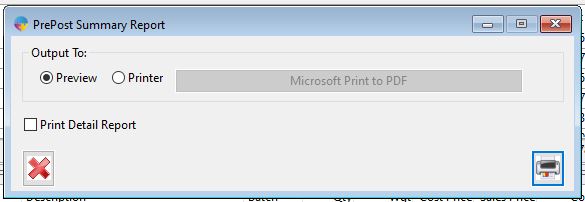
- Print
- After data has been loaded onto the grid, click the print button at the bottom of the screen to open the print options window.
- You can use preview to view the report on screen or choose print to print the report to your selected printer.
- You have the option to print the standard report which prints out the upper grid data or if you check the Print Detailed Report box, the report will include the upper grid data as well as the breakdown shown on the lower grid.
- Click the print button in the bottom right corner when you are ready to print.
- Export
- When you click the export button a window will pop up asking if you want to export the summary data only. You can select yes to export out the summary data or click no for a more detailed export.
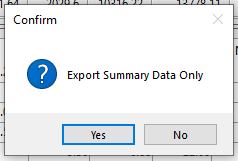
-
- After selecting yes or no, the file explorer window will open and you need to give the export file a name and select where on your computer you want to save it to. Click Save when you have done that.
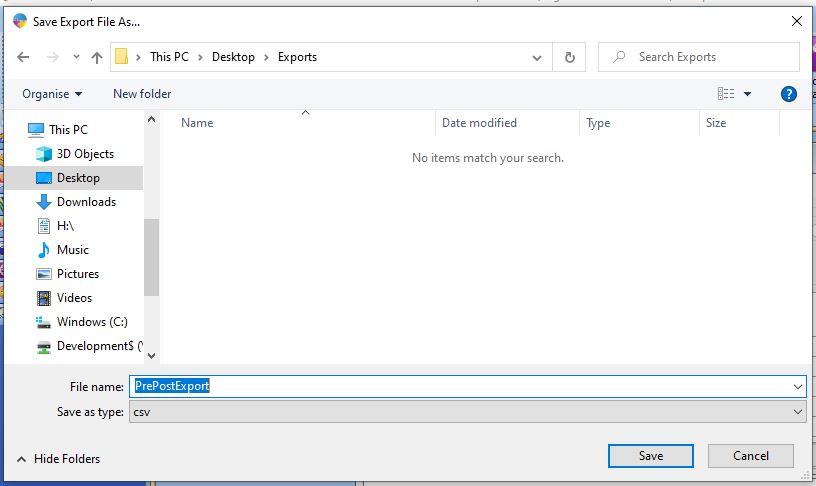
-
- You will be prompted again to confirm the export, click yes to complete the export or no to cancel.
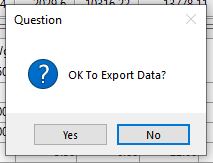
-
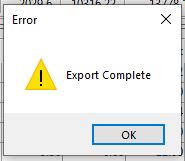
- When the export is complete a pop up will appear to confirm completion.
Legacy Report
The Pre-Post summary analysis grid was introduced as a replacement to the pre-post summary report. Prior to Season 21, the analysis grid was not available and the report is what you will have to use. If you want to use the report variant in any version of Season, 21 or more recent you can click the Report drop down menu found in the upper left corner of the window and select the Legacy report.

- After selecting the legacy report, a new window will open where you can select your criteria for printing the report.
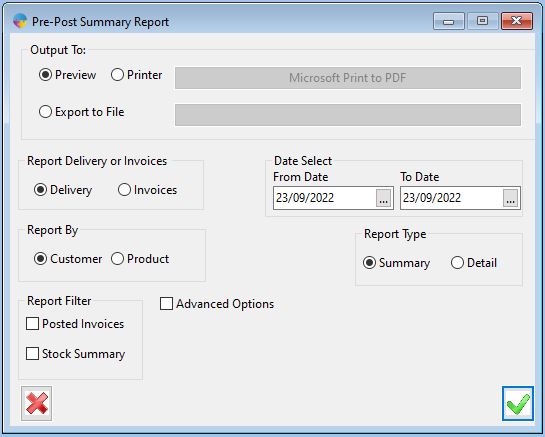
- You have several options to choose from, several are the same as the options provided on the grid view. Print options for preview, print and export. Options to run the report by invoice or delivery date. Options to run by customer or by product. A date range which allows for view of multiple dates as opposed to the single date option you have on the grid view. Finally, you have the summary or detailed report option.
- An option that is available on the report and not the grid is posted invoices/stock summary.
- Posted invoices – This option allows you to run the report to review invoices that are already posted. This option will not show any orders awaiting posting.
- Stock summary – This will look at the product you have on orders awaiting posting and check against you available stock. It will highlight any products that will have a shortfall in stock when posting.
- An option that is available on the report and not the grid is posted invoices/stock summary.
- Click the Tick button in the bottom right corner when you are read to print the report.
Advanced Options
Again, as with the grid view, the legacy report has advanced options. Check the advanced options box to reveal them. Again, some options are the same as the grid view, summarise Head Office accounts and print not available products only. You also have the option to select the customer/s you are running the report for.
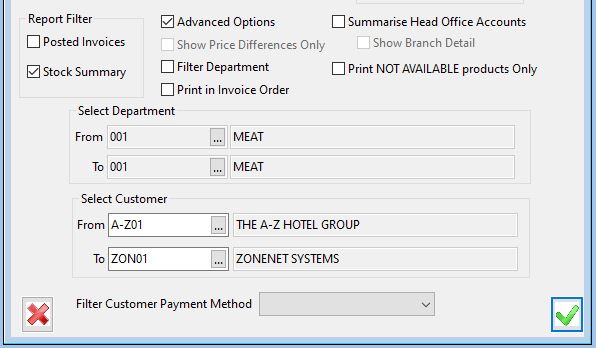
Two options that are exclusive to the legacy report are the department filter which allows you to narrow down your report to specific departments and the filter customer payment method which allows you to run the report to show customer of one specific payment method, i.e. direct debit customers.