How to Setup and Email Remittances in Season Office
Setting up Email Remittances
You will need to ensure that your email settings are setup on your PC. Click here to see how this is setup.
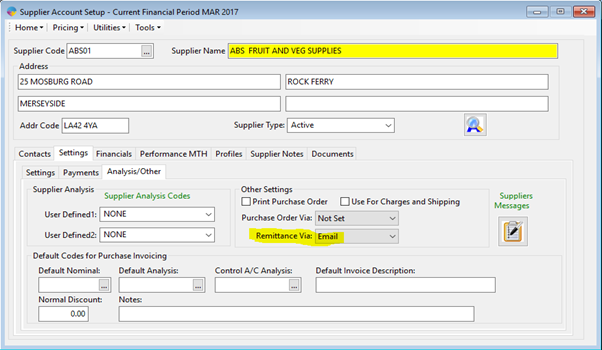
Setting up the Supplier to receive remittances by Email
- Go to supplier setup and choose your supplier
- Then under the settings tab and analysis/other select Remittance Via ‘Email’.
- Then save by pressing F2
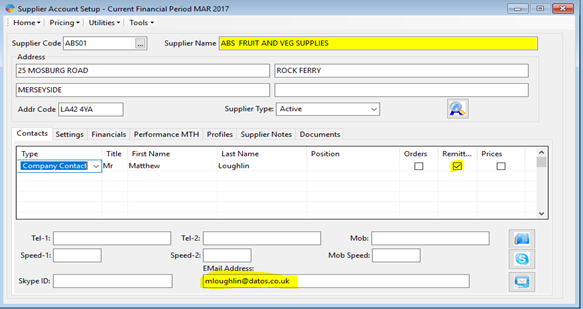
- Ensure on the contacts tab that there is a contact setup and the Remittance checkbox must be ticked as shown below.
- Also ensure that there is an email address entered in the email field, then again save the settings.
Setting up the default remittance email text
The process of editing the default text has changed from Season version 17 onward, if you are using one of these versions Click Here.
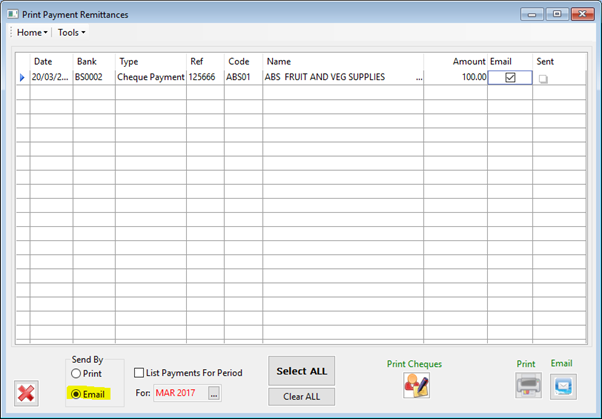
- Go to Purchase Ledger on the right hand side, then print payment remittances, as shown below

- This will bring up the below screen.
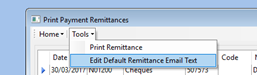
- Go to Tools and then click on Edit default remittance Email text.
- You will then have to enter in your Administrator password on the below screen.

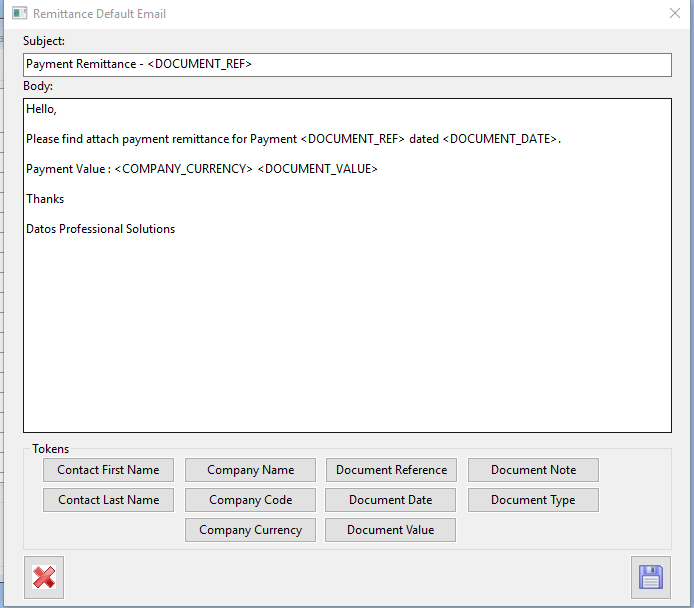
- This will bring up the below screen, where you need to enter in the text that you want to appear by default on the emails and then click the save icon.
Emailling the Remittances
- Stay within the Print Payment Remittances screen, as shown below.

- Select the ‘Email’ tab.
- In this screen you will have a list of remittances, for suppliers setup for emailing, go through them and select the ones you need to email.
- Then just click on the Email button to Email them to the suppliers.
The emails should now send successfully to the supplier.