How to: Setup a New Supplier
This guide will explain the basics of setting up a Supplier within Season Office. You will also find links to more articles explaining some of the options within Supplier Setup in more detail.
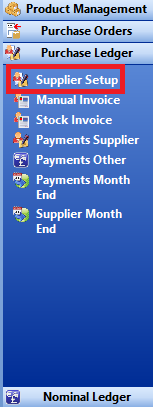
- Click on the “Purchase Ledger” tab in the operations menu -> Click on the “Supplier Setup” option.
- This will load the ‘Supplier Account Setup’ form.
- The window must not contain any existing information in order to create a new supplier, if the window is not clear when you open it, press F5 to clear the existing supplier information.
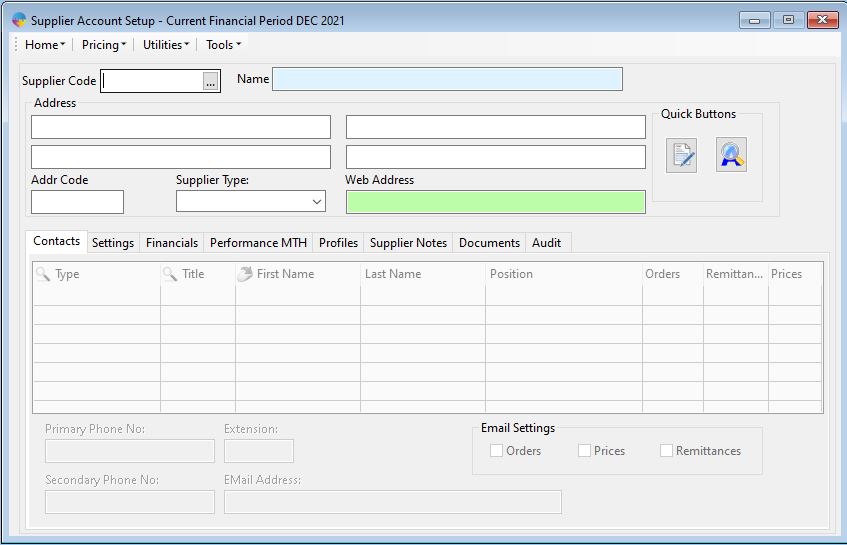
- First you need to fill in the Supplier code, Description and address details. Once those have been entered, click the Supplier type box to open the drop down menu and select a type for your supplier. You have the following options;
- Active – For any supplier that you are currently buying from
- Not Used – If you have previously set up a supplier but have stopped purchasing from them then you may want to make them inactive.
- Sundry – More for reference if the supplier is used for Sundries.
- You now need to click the settings tab followed by the settings tab below that. Once you are on this section you need to enter the Req’d information, that is;
- Currency – This is the currency type that the supplier uses E.G. £, $ etc. For more info about currency codes, Click Here
- Area Code – You will need to assign the relevant area code depending on the supplier location. For how ot set up area codes, Click Here.
- Default Delivery – This will be the default delivery route, mainly intended if you were using a haulier, you can use this section to specify which one is used.

- The final piece of information you are required to enter is the normal method of payment. Again from the settings tab, click the payments tab below that and you will have the method of payment on screen. Click the arrow to open the drop down menu and select you required method of payment.

- With all of the above information entered you should now be able to save your new supplier. Click the save icon along the top of the screen of press F2 on your keyboard.
The above was the bare minimum required to set up the new supplier. See below links for more detailed information on other features within supplier setup.
Setting up Contacts – Click Here.
Setting up Supplier Messages – Click Here.
Setting up SEPA payments – Click Here.
Restrict to pricebook only – Click Here.
Setting up the supplier setup Audit – Click Here.
Setting up supplier barcodes – Click Here
Creating alternate delivery addresses – Click Here.